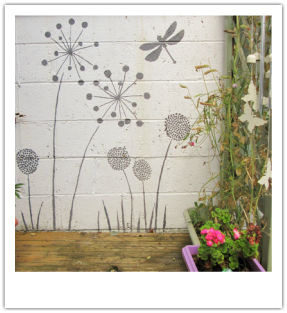
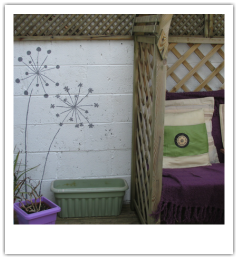
I am delighted to announce the opening of my new exhibit 'Flower Child' which is on display in Renzo Cafe Gallery in Galway City. The exhibition runs from 8th November to 5th December, so if you're in the neighbourhood, please do stop by and enjoy the charming atmosphere!
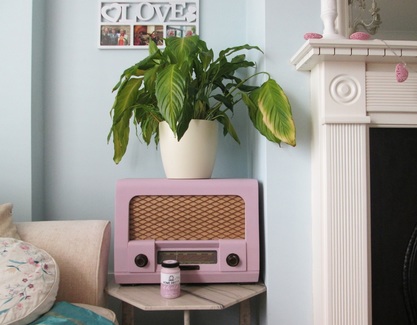
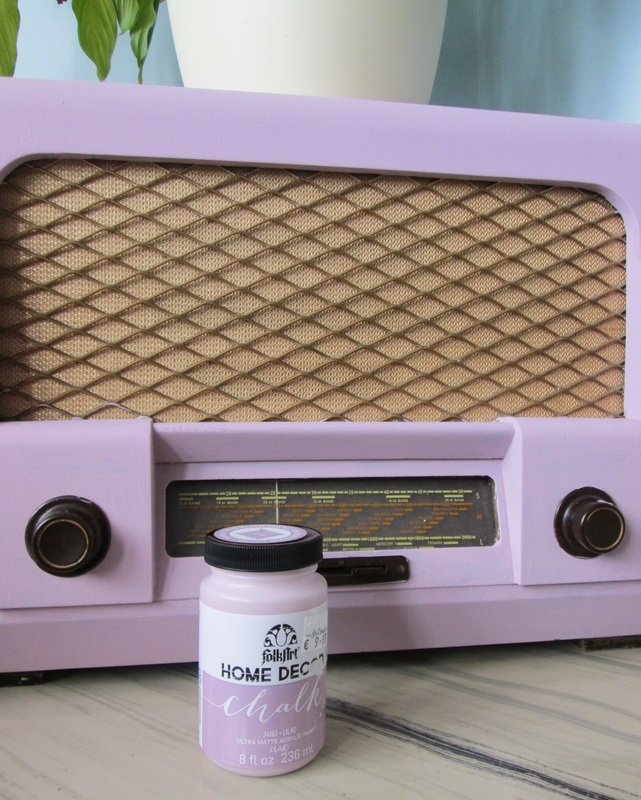
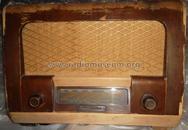 I have been curious to try chalk paint for quite a while now, as it promises to magically transform your boring old furniture into a sophisticated tribute to French chic with the mere lick of a brush. The perfect project presented itself when my uncle gave me this old Sobell wireless radio. I was so eager to start this project that I didn't even take any 'before' shots, so here's a similar image of what it used to resemble... ..before I got my hands on it! Chalk paint can be a bit pricey, but I found this new range in my local arts & crafts shop and, while not exactly cheaper, they do come in handy smaller sizes for projects like this. I used Folk Art Chalk Paint in 'Lilac' (236ml for €10) and even though it took two coats, I only used half of the pot. It's only when you use chalk paint that you realise how economical it actually is. There is ZERO prep work required, i.e. no sanding and no undercoat. Having already painted a kitchen dresser, the bannister, a set of coffee tables and even the fireplace surround - the hard way - I've had lots of experience painting wood. With hours of sanding, undercoats, long waits between drying times and a lot of colourful language when the roller left bubbles and the brushes left streaks, it really is a messy, stinky, laborious job. Not so with chalk paint! You just lash it on - I chose a roller to give an even finish - and that's it. The pigment is so strong that you are left with an ultra-matt finish that is utterly fool proof. I have yet to treat it with soft wax, to give it that sleek sheen, but I have to say I am converted. If I ever need to paint furniture again, I'm going chalk paint all the way. In fact, it can be used for melamine surfaces and even floor boards (yes en-suite bathroom, your time has come!). The possibilities are endless and the only hard part is deciding which colour to choose.
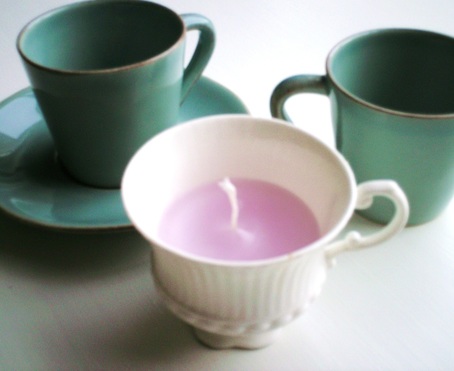
Is there anything more elegant than a dainty little teacup? Well there is now! How about a teacup candle - a marriage made in heaven :) This crafty idea is a lot easier to achieve than you would think, once you have a couple of basic tools (and a teacup!). Candle wax (I used wax from a craft store)
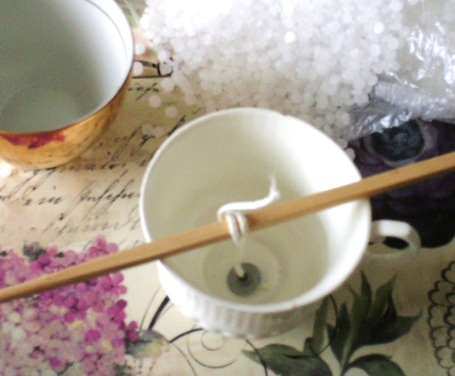
Candle wick with sustainers A pretty old teacup (you can pick up various shapes & colours in your local thrift shop) A pencil to hold the wick (or as you can see, I used a chopstick) An old washed out tin to melt the wax So once you have your supplies, it's time to melt the wax. For this, I used an old, washed out tin of beans and placed it in a saucepan with boiling water. If you want to be extra thrifty, you can use leftover ends of candles that you can break up and melt in the tin. Depending on how small the pieces of wax are, it shouldn't take too long to melt. Meanwhile, slip the wick through the metal sustainer, leaving a little tail and squeeze the top part to hold the wick in place. In order to keep the wick straight and centred in your candle, tie the end of the wick to a pencil and balance it across the top of the cup (as shown in the picture above). When the wax is ready, just pour into the cup and leave to set. And it's as easy as that! You can add colouring or essential oils to really make these candles irresistible, but just remember to wear your oven gloves when dealing with hot wax. These make great gifts too, but if you're like me, you'll probably end up keeping them for yourself :) Another cheap and cheerful craft idea from At Home With Aveline. |
AuthorMy name is Evie, and I love all things crafty! Archives
November 2016
Categories |

 RSS Feed
