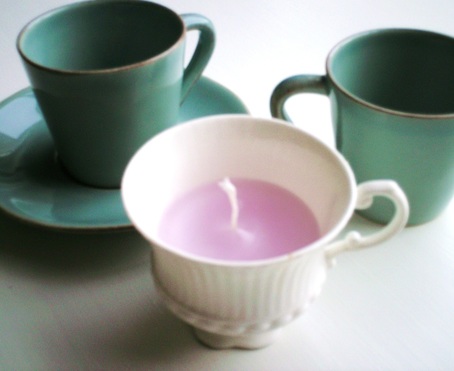
Is there anything more elegant than a dainty little teacup? Well there is now! How about a teacup candle - a marriage made in heaven :) This crafty idea is a lot easier to achieve than you would think, once you have a couple of basic tools (and a teacup!).
Candle wax (I used wax from a craft store)
Candle wick with sustainers
A pretty old teacup (you can pick up various shapes & colours in your local thrift shop)
A pencil to hold the wick (or as you can see, I used a chopstick)
An old washed out tin to melt the wax
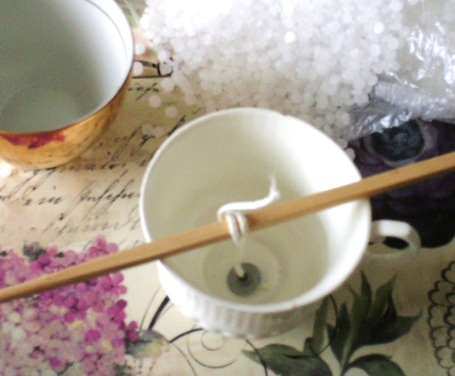
So once you have your supplies, it's time to melt the wax. For this, I used an old, washed out tin of beans and placed it in a saucepan with boiling water. If you want to be extra thrifty, you can use leftover ends of candles that you can break up and melt in the tin. Depending on how small the pieces of wax are, it shouldn't take too long to melt. Meanwhile, slip the wick through the metal sustainer, leaving a little tail and squeeze the top part to hold the wick in place. In order to keep the wick straight and centred in your candle, tie the end of the wick to a pencil and balance it across the top of the cup (as shown in the picture above). When the wax is ready, just pour into the cup and leave to set.
And it's as easy as that! You can add colouring or essential oils to really make these candles irresistible, but just remember to wear your oven gloves when dealing with hot wax. These make great gifts too, but if you're like me, you'll probably end up keeping them for yourself :)
Another cheap and cheerful craft idea from At Home With Aveline.


 RSS Feed
